

Overview
The Git Browser provides a repository workspace directly inside Genesis. It supports browsing repository trees, previewing folder contents in a sortable grid, searching file paths and contents, creating files and folders, editing content, and exporting Markdown or repository archives. Genesis also uses Git Browser as the editor for editable skill packages opened from the shared skills catalog. Imported skills and self-added skills both use the managedagent_skills Git repository for that flow, while skills that ship with Genesis stay read-only.
When the Launchpad setup checklist is enabled and you have not yet completed
the git_connection item, Genesis shows a small connect banner above the
workspace with a link to Config → Connections. The banner is non-blocking —
you can use Git Browser normally while the item is open.
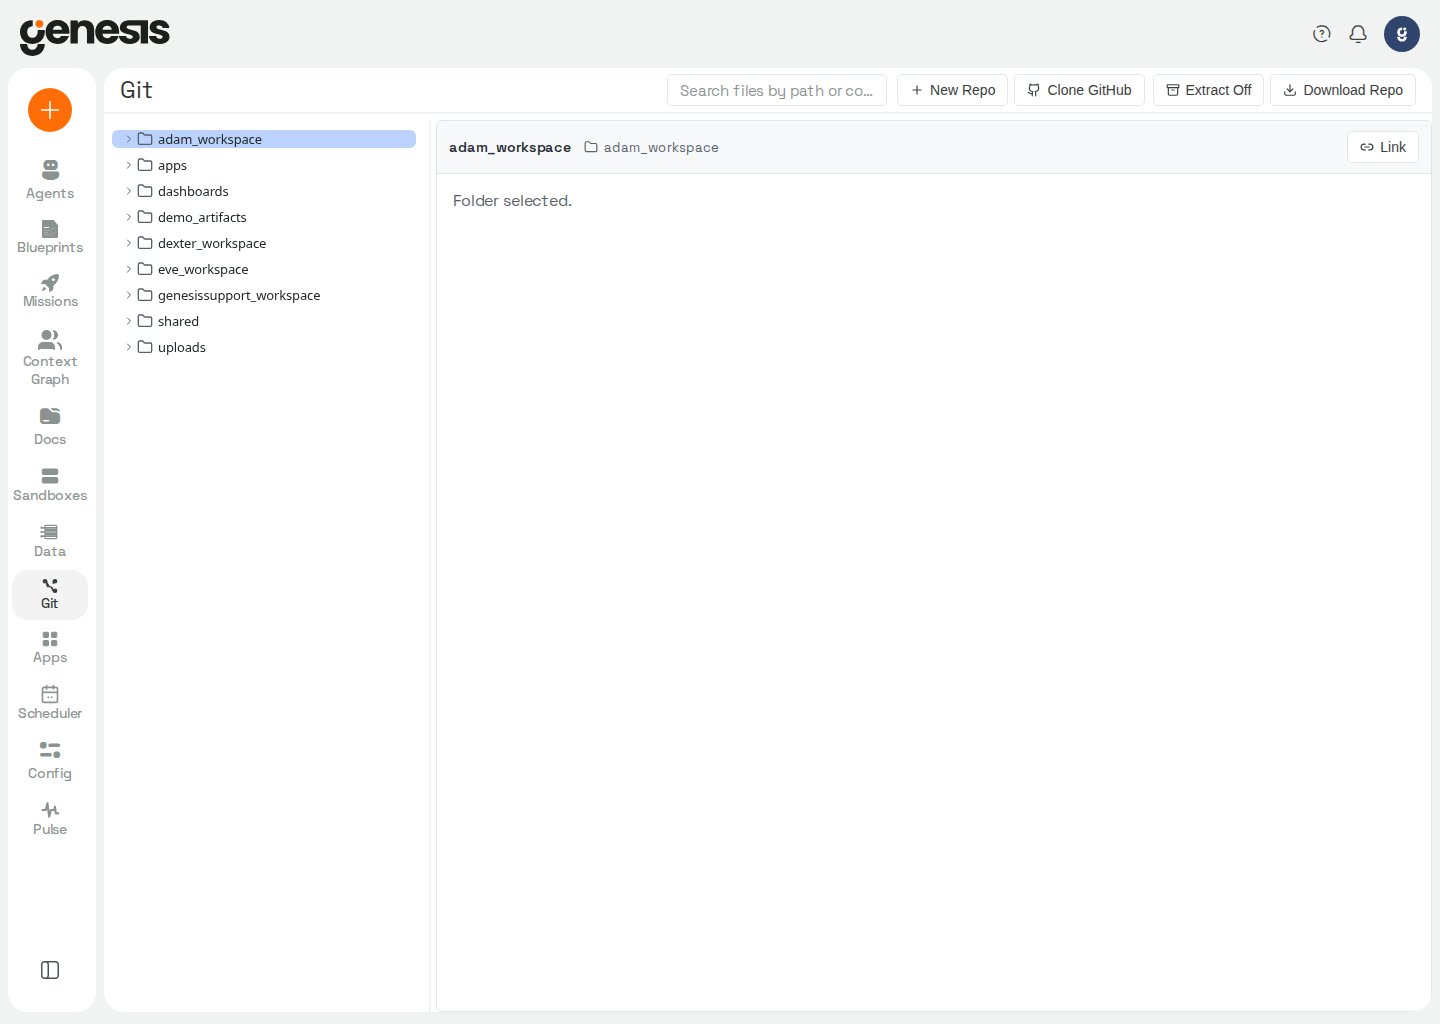
Main workspace areas
Key workflows
See the Git policy.Create or clone a repository
Use New Repo to create a workspace from scratch, or Clone Git Repo to bring an existing remote repository into Genesis. For repository initialization details beyond this workflow, see Git Action Tools. The clone flow lists every enabled Git and code connection for GitHub and GitLab (for examplegithub.my-org or gitlab.my-conn). Genesis uses the default connection when one is set; you can pick another from the list or type a connection reference. Use Add new connection in Config > Connections > Git & Code when you need to create credentials first.
After you choose a connection, Genesis loads accessible personal and organization repositories into a searchable list. Search for and select the repository to clone; the dialog does not accept a manually entered repository name. Genesis checks for the new repository 1.5 seconds after the clone starts, then refreshes clone status every 3 seconds while it runs. The tree indicates when a repository is incomplete and offers a delete action.
Bitbucket and Azure DevOps connections appear under Git and code, but the Git Browser clone dialog does not list them yet. Use agent
git_action / connector tools to clone those repositories until clone support ships for those providers.Control access
Repositories can be created with different access scopes, such as shared or personal use. After creation, access can be refined from the repository management actions.Search and edit content
Use the search tools to find specific files or text, then open the file in the editor to make updates. Search results stay grouped under each repository and preserve matching folder paths in the tree, with matching folders expanded automatically so you can open files in context. Markdown files can be previewed and exported to PDF where supported. When editing a long file, use the editor’s scrollbar or mouse wheel to move through the content; scrolling does not require keyboard navigation.Review folder contents
Select a folder in the repository tree to open its contents in the main pane. The folder grid shows child folders and files as cards, includes created and updated timestamps when that metadata is available, and lets you sort entries byName (A-Z), Name (Z-A), Created (newest), Created (oldest), Updated (newest), or Updated (oldest).
Selecting a folder card drills into that folder. Selecting a file card opens the file in the viewer or editor.
The browser shows a loading status until a folder listing returns. If the listing fails, use Retry; an empty-folder message appears only after a successful listing confirms there are no entries.
Copy or move repository items
When a file is open, Copy copies the file contents to your system clipboard. Use Copy Item to copy the selected file or folder so you can paste it into another folder in the same repository browser. To move content instead of duplicating it, use the tree Cut action and then paste into the destination folder. Keyboard shortcuts such asCtrl+C / Cmd+C, Ctrl+X / Cmd+X, and Ctrl+V / Cmd+V follow the current tree selection, including multi-select operations.
If you highlight text in the file preview pane, Ctrl+C / Cmd+C and Ctrl+X / Cmd+X apply to that text selection instead of the current tree selection.
Create folders and files
The browser supports in-product file and folder creation, so teams can scaffold documentation, prompts, notes, or configuration without leaving Genesis.Upload files and folders
Users with themanage_git permission can upload files into a writable repository
folder. Select Upload from the folder actions to choose files, or select
Upload folder to choose a local folder and preserve its relative file paths.
You can also drag files or folders from your desktop onto a repository folder in
the tree or folder grid. Genesis does not store empty folders, so a dropped folder
must contain at least one file.
Uploads are processed as one batch. If a destination already contains a file,
choose Replace, Keep both, or Skip this file in the upload status panel;
unresolved conflicts must be decided before the batch can be retried. Genesis
allows only one upload batch at a time and refreshes the target folder after files
are saved.
For a managed repository, uploads must target the repository’s WIP view. Genesis
commits successful uploads to that WIP branch in one commit; the changes reach the
main view only after an explicit merge. For other writable repositories, uploads
change the working tree and you must commit those changes explicitly.
Customer-facing uses
- work with mission repositories,
- stage documentation or prompt assets,
- review generated files,
- export repository deliverables for handoff.