

Prerequisites
- Okta administrator access with permission to create and configure applications.
- A public HTTPS Genesis hostname reachable from Okta. If Genesis runs on a private network Okta cannot reach, use the Okta directory sync instead.
- A Genesis SCIM bearer token generated from the SCIM Admin API.
- A Genesis group-to-role mapping for every Okta group you plan to push. See Configure the group-to-role mapping.
GENESIS_SCIM_REQUIRE_PROVISIONED_USERS=falseduring the pilot. Enable the login gate only after pilot users are provisioned and verified.
Values to collect
Genesis setup
-
Confirm SCIM environment configuration is present on the Genesis deployment.
At minimum, production deployments usually set:
-
Rotate or create the SCIM bearer token:
Save the returned plaintext token immediately. Genesis returns it only once.
-
Configure group-to-role mapping:
-
Confirm the public SCIM endpoint responds:
Okta setup
1
Create the Okta SCIM app
In the Okta Admin Console, open Applications and add the catalog app
SCIM 2.0 Test App (OAuth Bearer Token). Name it something recognizable,
such as 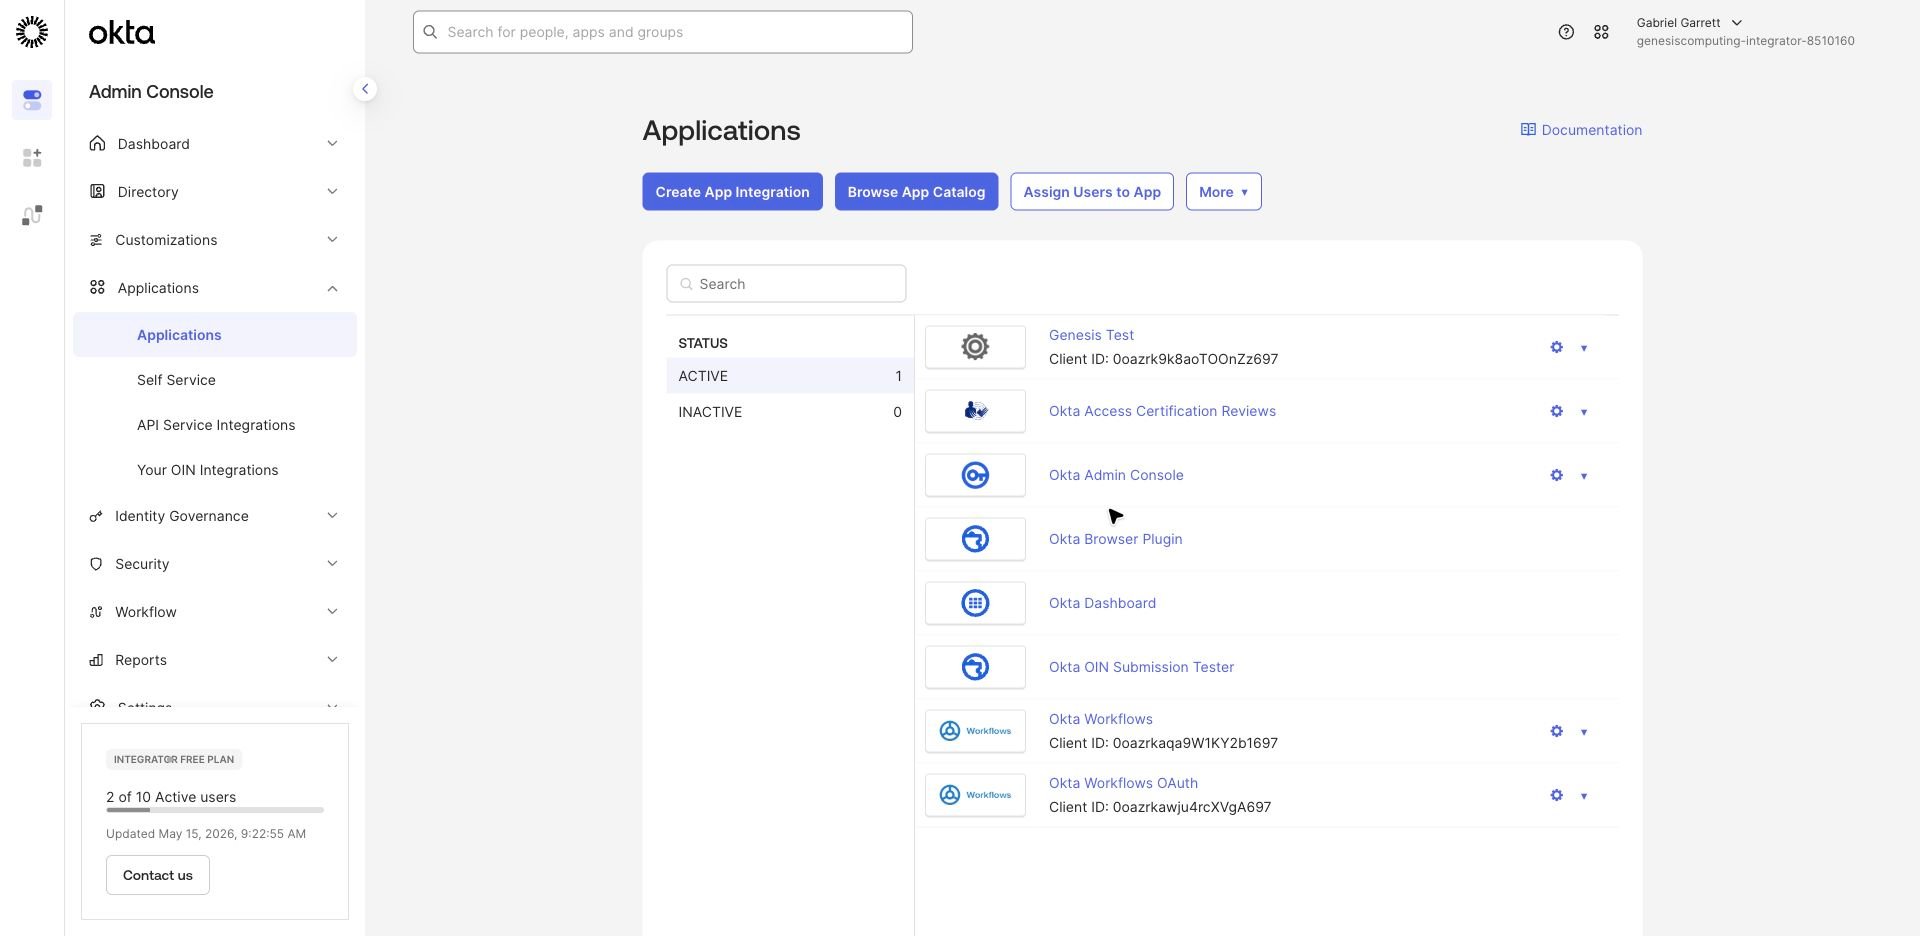
Genesis SCIM.2
Complete required Sign On placeholders
Okta’s SCIM test app may require sign-on fields even when you are only
using it for SCIM provisioning. These are not the SCIM endpoint values.Use the customer’s Genesis host for the base audience value. If SAML sign-on
is not part of this rollout, use placeholder values that Okta accepts for
the required fields, or use the customer’s actual SSO values if they have
already configured them.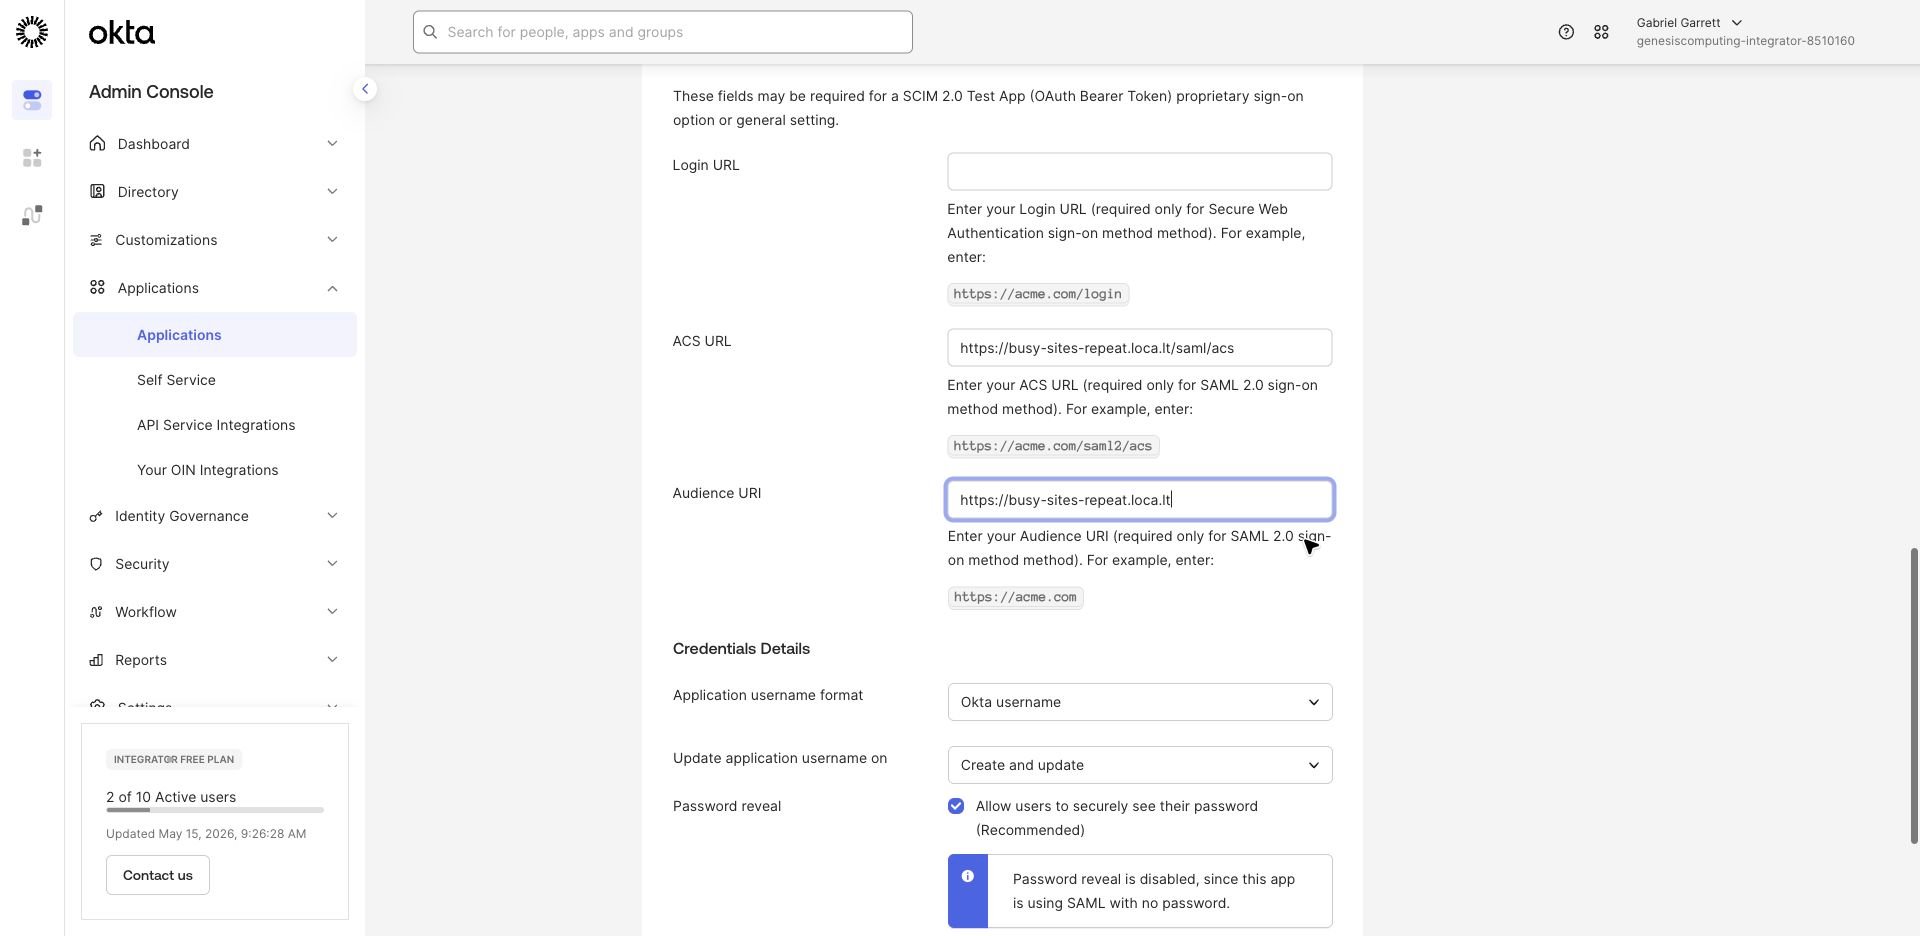
3
Open Provisioning and configure API integration
Open the app’s Provisioning tab, then choose Configure API
Integration.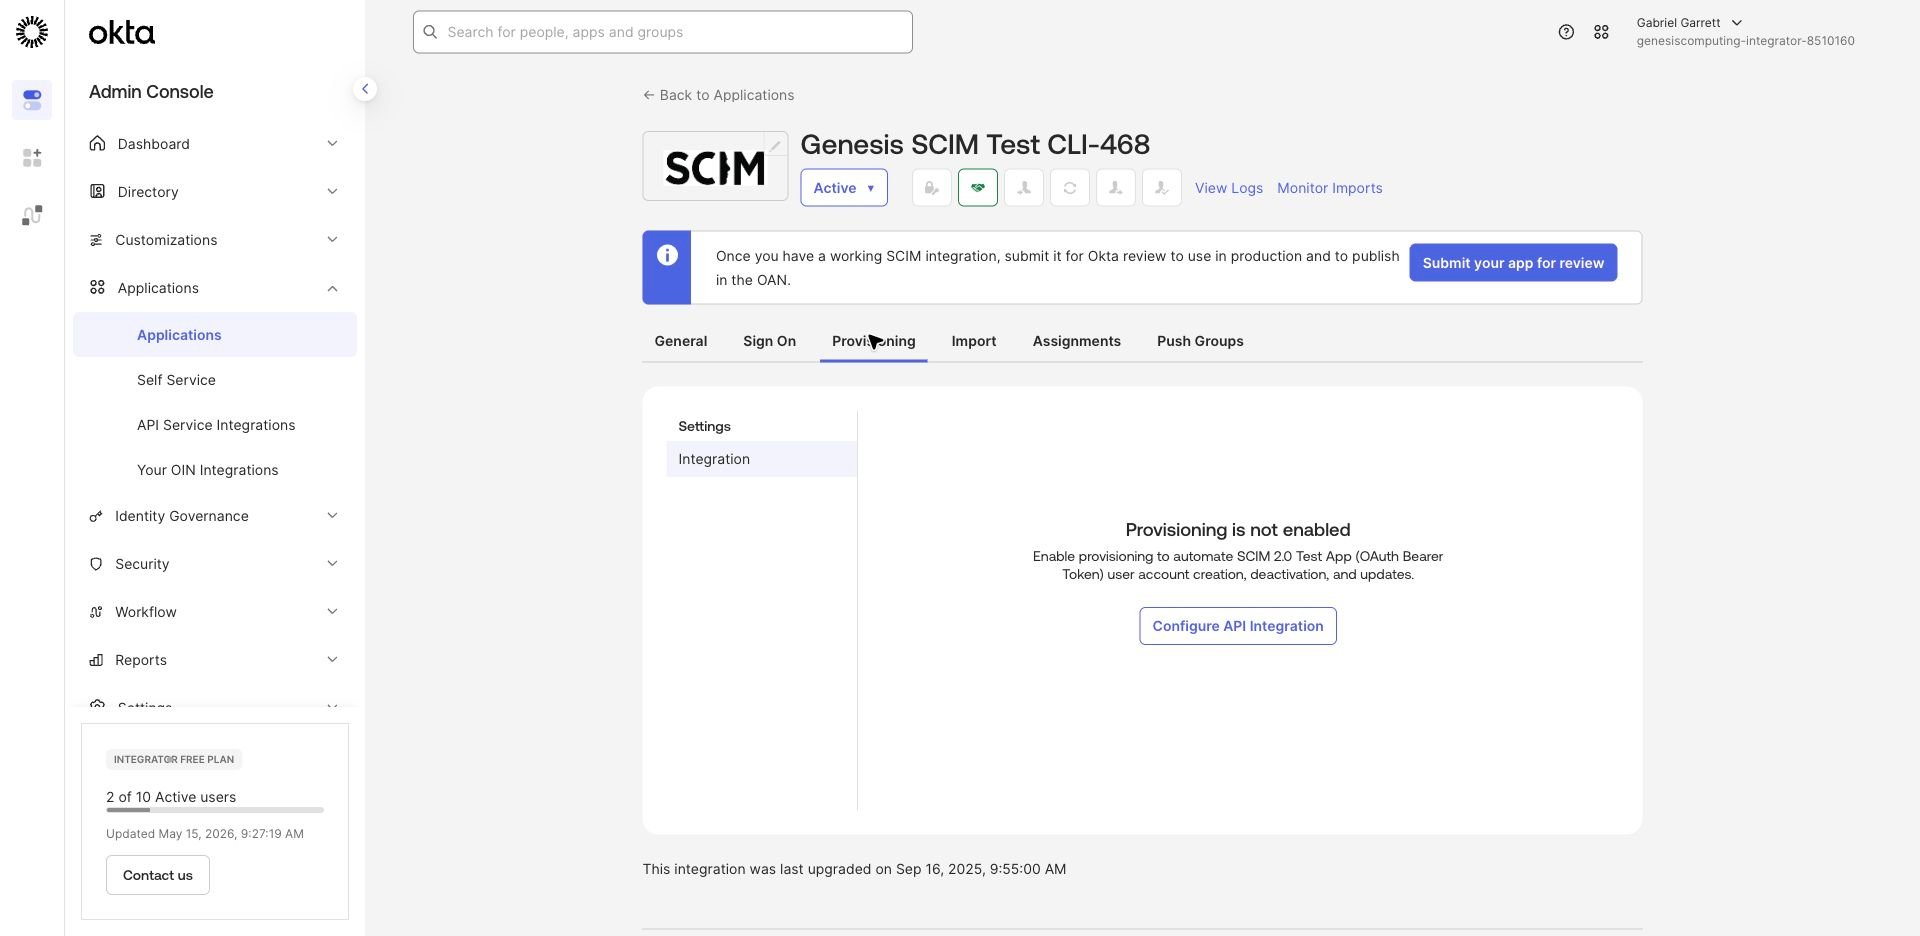
- SCIM connector base URL:
https://<genesis-host>/scim/v2 - Unique identifier field for users:
userName - Authentication mode: HTTP Header or OAuth Bearer Token, depending on the Okta app template wording.
- Bearer token: the Genesis SCIM token.
4
Enable To App provisioning operations
Under Provisioning -> To App, enable: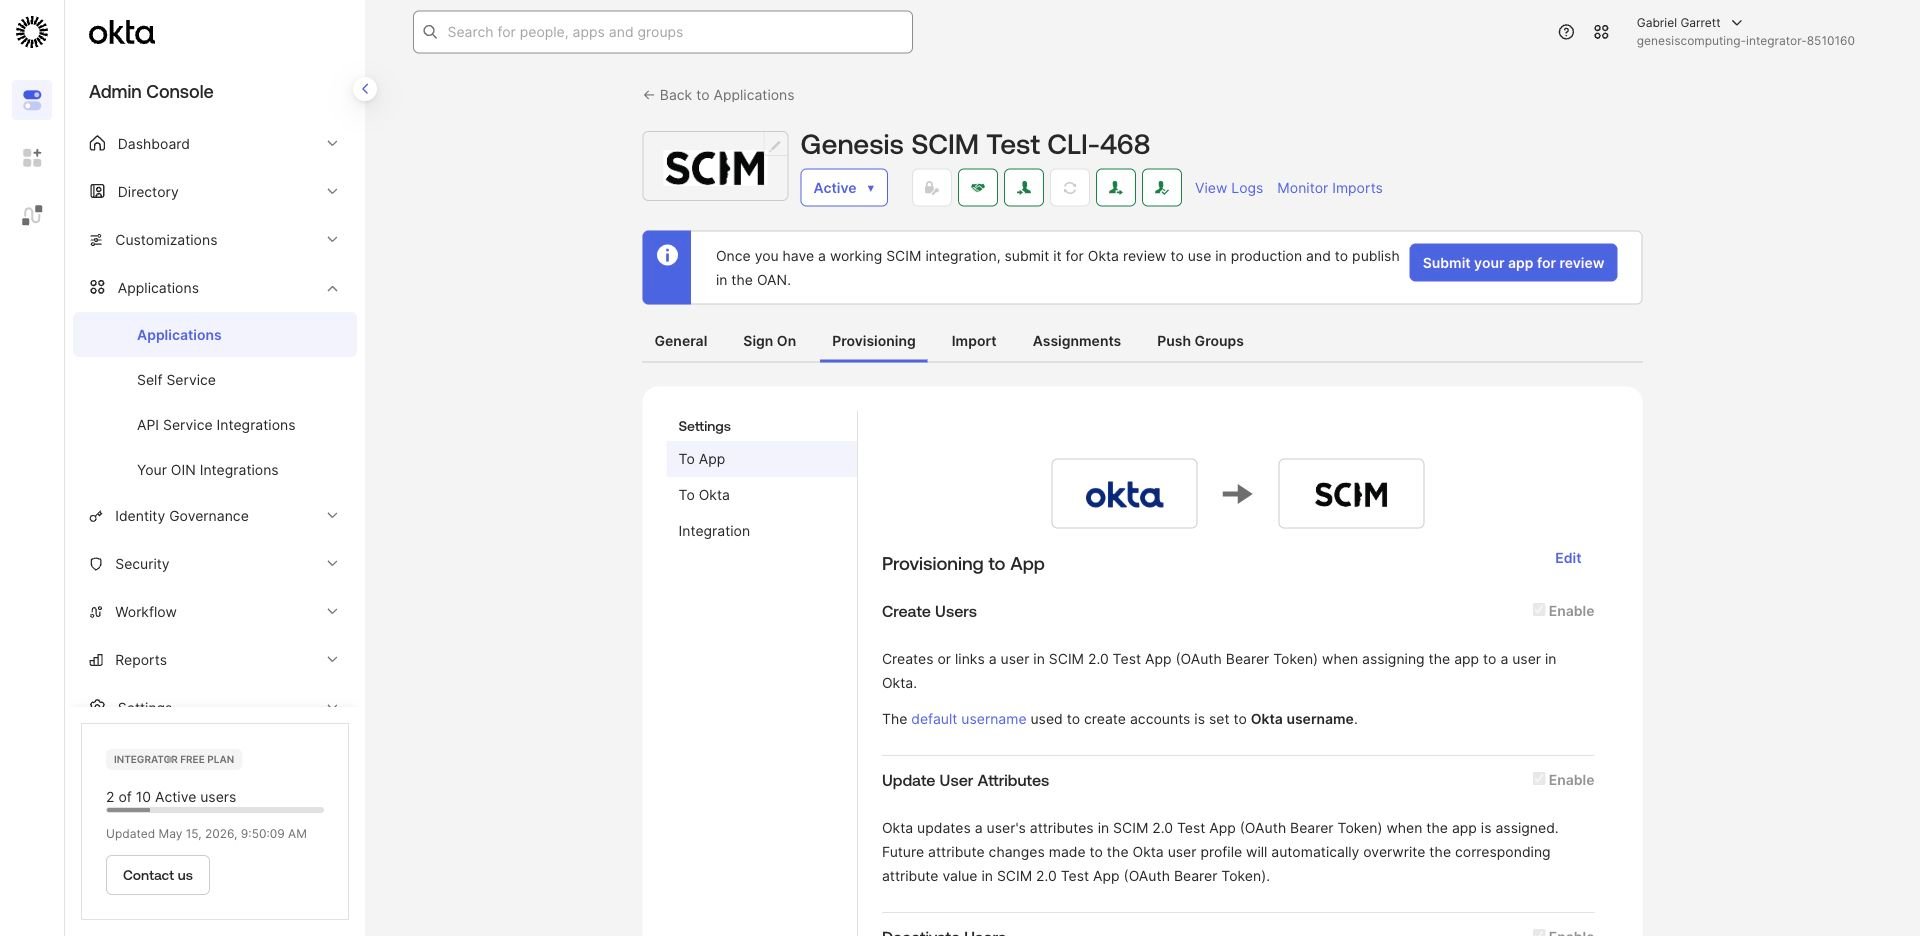
- Create Users
- Update User Attributes
- Deactivate Users
5
Verify attribute mappings
Confirm Okta maps the user profile fields Genesis persists: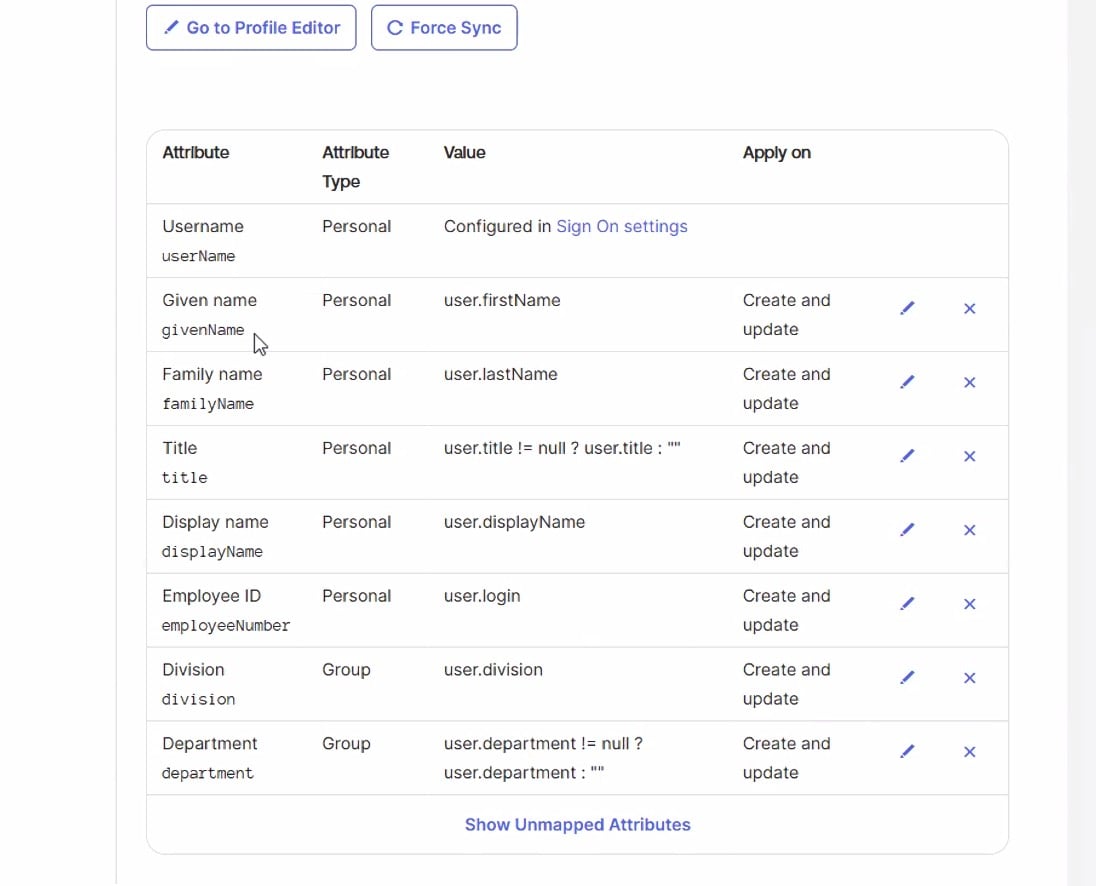
6
Assign pilot users and groups
Assign one pilot user first. Okta should create the Genesis SCIM user when
the app assignment is saved.Then push only the Okta groups that are present in the Genesis
group-to-role mapping. Unmapped groups are rejected so that accidental group
pushes do not grant unexpected access.
Recommended attribute mappings
employeeNumber, division, and department are optional. Okta sends them
under the SCIM Enterprise User extension namespace:
Verification
After assigning a pilot user, verify both sides. In Okta:- The app assignment is active for the pilot user.
- The Provisioning logs show a successful create or update.
- Force Sync succeeds after changing one mapped attribute such as display name or title.
displayName, name.givenName, name.familyName, title, and the Enterprise
extension fields above.
Unsupported and extra fields
Genesis persists the fields listed in this guide. Extra top-level fields in a SCIM create or replace request are ignored by the API schema. SCIM PATCH operations are stricter. If Okta sends a populated custom or default mapping that Genesis does not support as a PATCH path, Genesis can reject that specific update with a SCIM-shaped400. For production setups, keep the Okta
mappings focused on the fields Genesis persists, or validate any additional
mappings during the pilot before broad rollout.
Troubleshooting
Handoff checklist
- Genesis SCIM base URL provided to the customer.
- SCIM bearer token delivered through a secure channel.
- Group-to-role mapping agreed and configured.
- Okta app credential test passed.
- One pilot user created from Okta and visible in Genesis.
- One mapped attribute update synced from Okta to Genesis.
- One mapped group push granted the expected Genesis role.
- One user deactivation set
active=falsein Genesis. - SCIM-only login admission enabled only after pilot validation.